Telematics Guru - Quick Start Guide
Table of Contents
Telematics Guru is a fully featured tracking platform. Partners are encouraged to explore all elements of TG by:
- Working through this knowledge base folder
- Exploring the menu in TG
- Getting in touch with our support team to ask questions or submit feature requests
This guide is intended for first time users to quickly get them up and running and testing their first devices and the system. Covering how to
- Login
- Add an asset
1. Login
You will receive a login invite from one of our team members. Follow the link

The first part of the URL - i.e. https://mypartner.telematics.guru is your TG URL. It is worth bookmarking this page for future use.
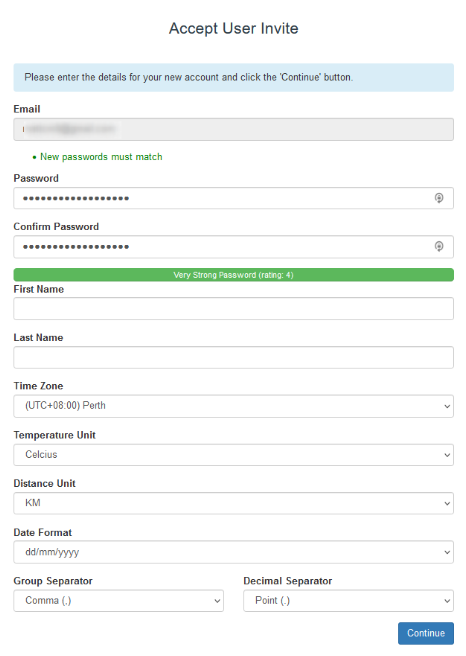
You will be taken to the login screen to create a password, enter your name, and set your timezone + date format and other units.

You are then prompted to login with these details and are taken to the main menu.
2. Create Assets
From the menu, we want to go to Manage Assets to begin adding our devices to Telematics Guru.

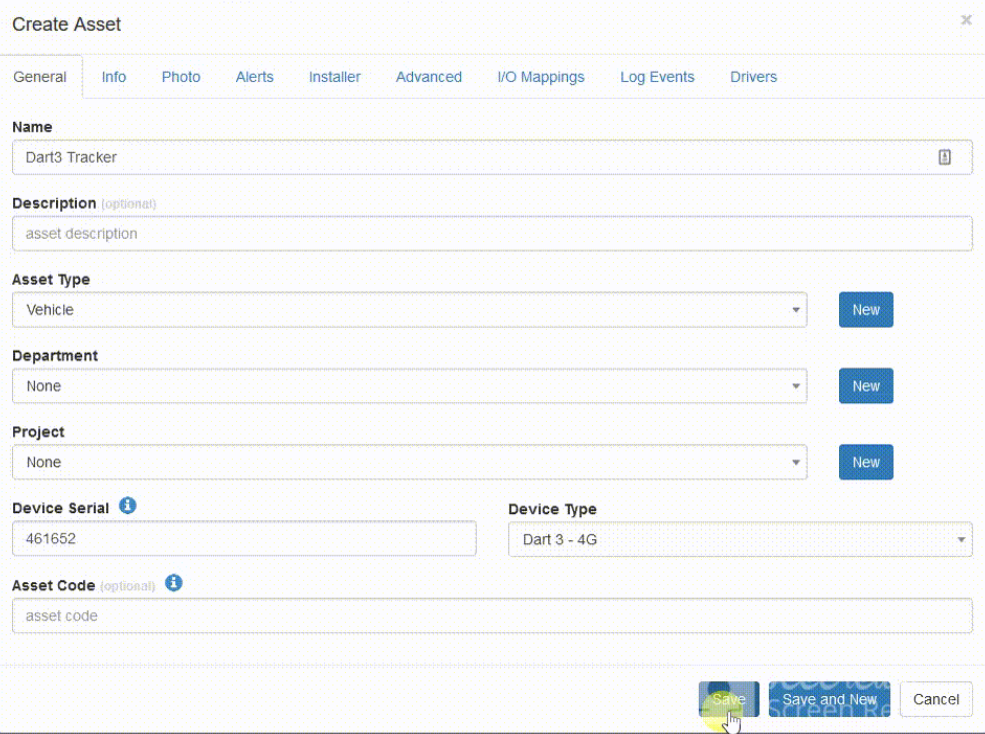
Create a new asset

All we need to enter to get going is a name, and the Serial.
There is a lot of additional configuration which can be done - but the meaning of these other features is covered in other guides. To just start tracking, keep it simple - we can come back and edit later.
 Initially, the device will show as not having a GPS fix, and never having connected.

On it's next connection it will show on the map.
Common issues:
Device Connects but stays "No Fix"
This means the device is configured correctly but can't get a GPS fix.
Take the device outdoors and remove, then reinsert batteries (a reset is not required but this triggers a new fix attempt on reboot)
Device Never Connects
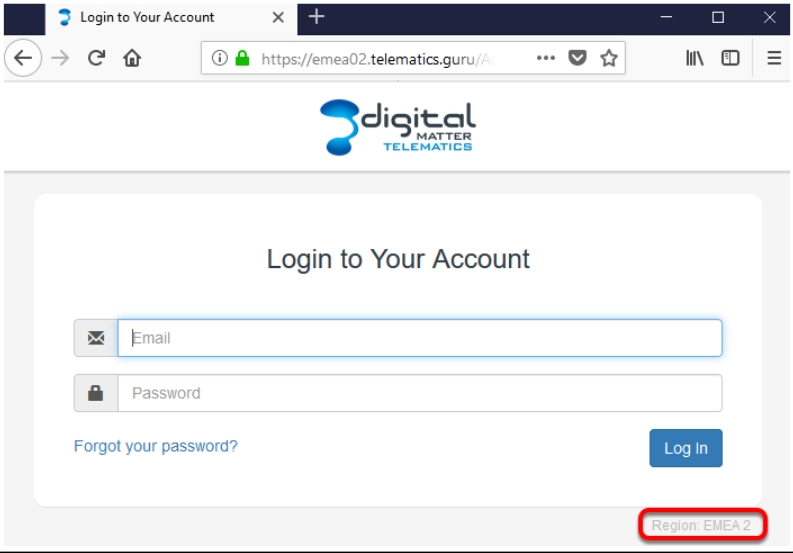
Check that the connector is set in OEM server to the right TG Server. You can find out which server you are on by logging out and checking here on the login screen:

Ready to Track
Your device(s) are now configured and you are ready to track! Other features can be configured later as you go.
