Live View - Telematics Guru

Written by Matthew Clark-Massera
Updated at April 16th, 2024
Table of Contents
Introduction
The Live View
The Live View in Telematics Guru can be useful to see an instant representation of where your assets are and in what state they are currently in.
Live View Refresh Rate
The live view refreshes every 15 seconds and to reduce server load, browsers that have been idle for 4.5 minutes will suspend these automatic updates. You can disable the 4.5-minute suspension by Disabling Asset Updates Paused.
In order to view this page the Live View permission must be enabled for the user.
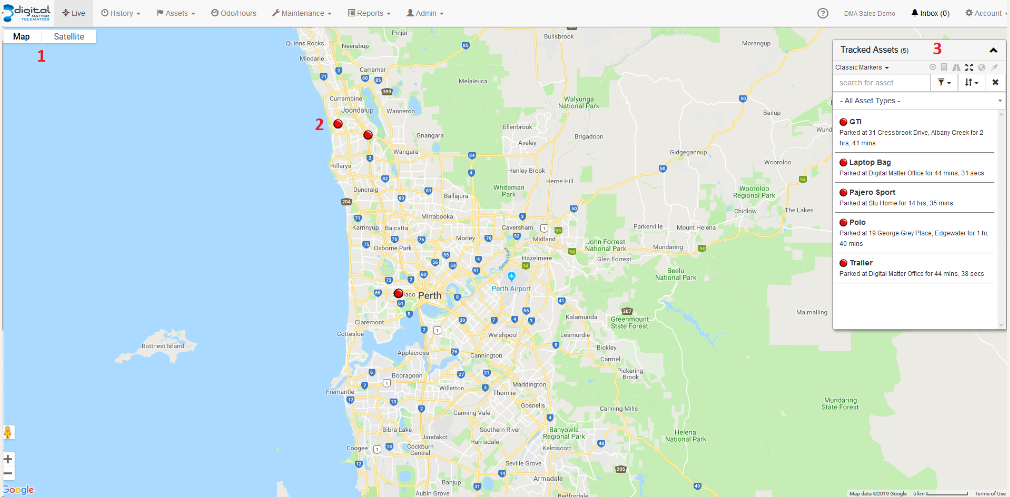
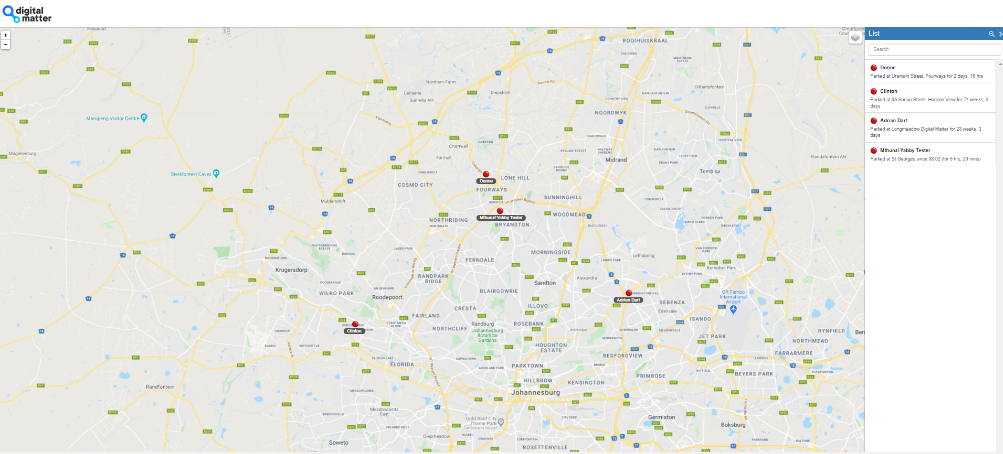
- Here you can choose whether to display a road map view or satellite view
- This is what Assets can look like on the live view
- The 'Map Menu' holds several great searching and grouping tools including groupings by Asset colour, project, Asset type and Department.
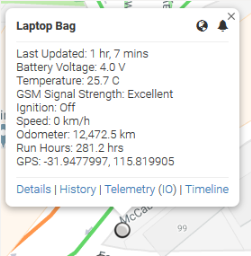
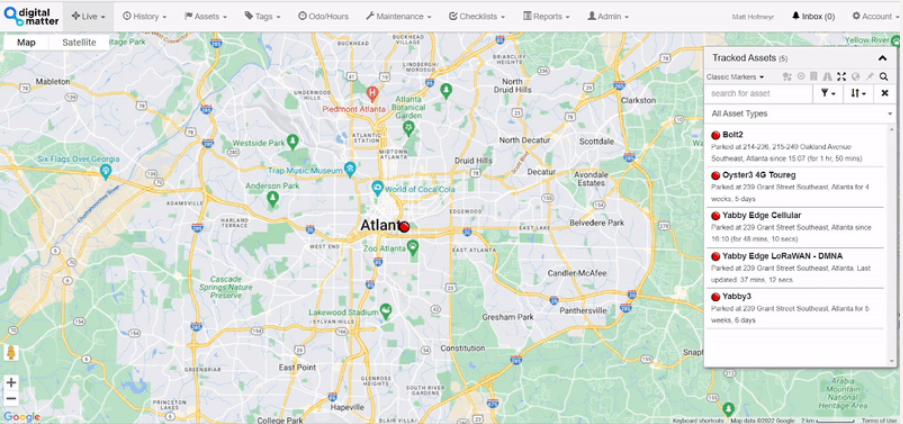
Selecting an Asset
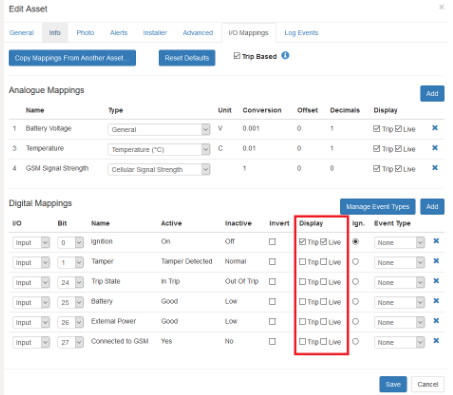
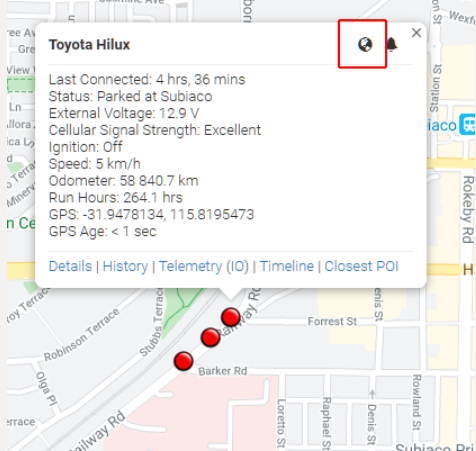
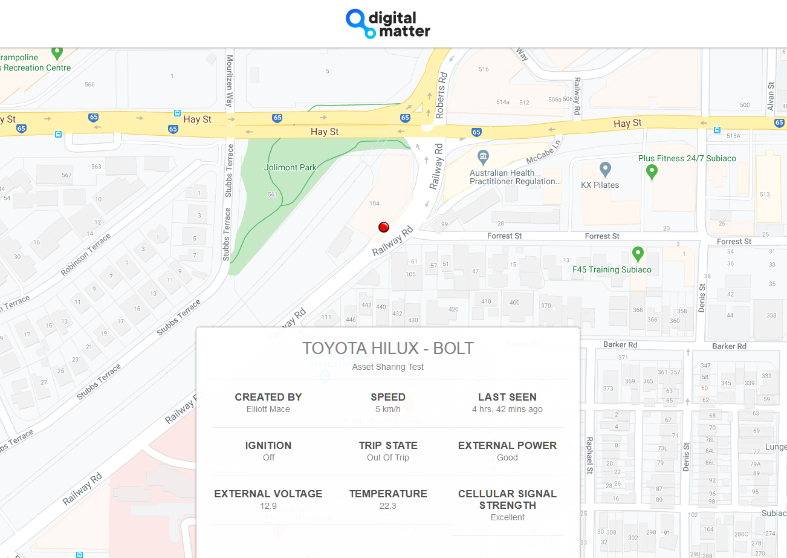
You can either click on an asset from the Map Menu as shown above, or search using the tool in the menu itself. Once you select an asset, your map will zoom to it's location and show the information card. The information card displays the current Telemetry record log and can be altered to include the status of Digital IO Mappings through Edit Asset >> IO Mappings.
 |
Asset Location Sharing
You can also click on the world icon to share the location to anyone via a link. The bell icon is to Activate a Movement Alert.
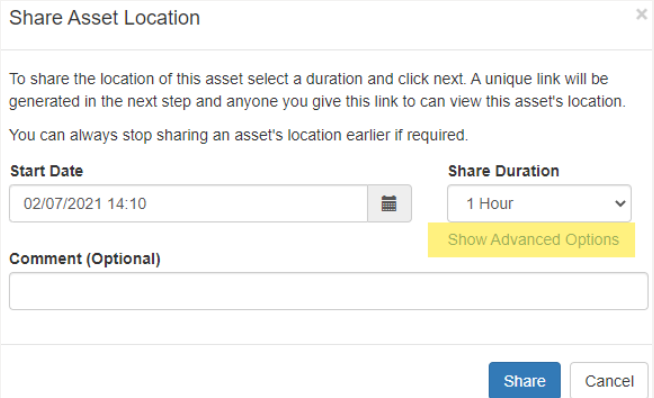
Location sharing has a number of options and customisations available that may be useful for courier companies or hire companies to track assets, parcels or loan vehicles. Asset sharing allows customers of such organisations to be temporarily given access to the location of the truck delivering their goods for example.
Note
Asset Location Sharing functionality enabled for the organisation to use this feature.
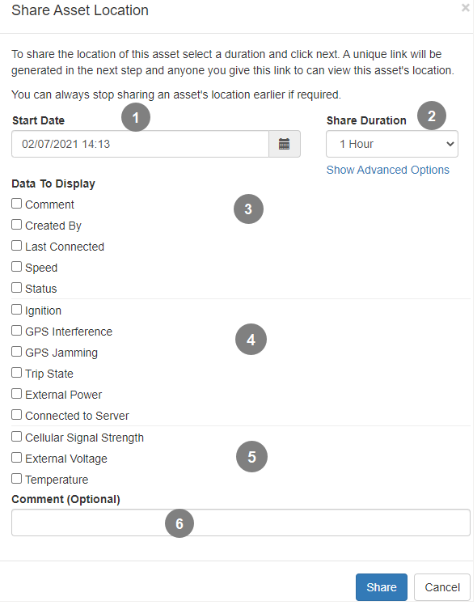
You will be presented with a list of information you wish to share (for example, you might want to show the speed the driver is doing and potentially incriminate them!)
 |
|
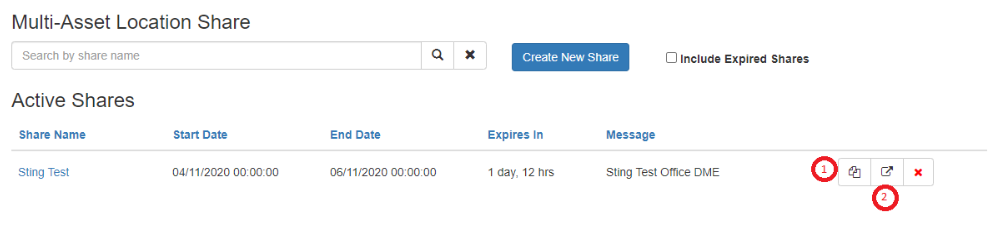
Once you've clicked Share, you will be taken to the Share asset location manager.
This screen gives you an overview of all the current shared sessions (you can make more than 1 link).
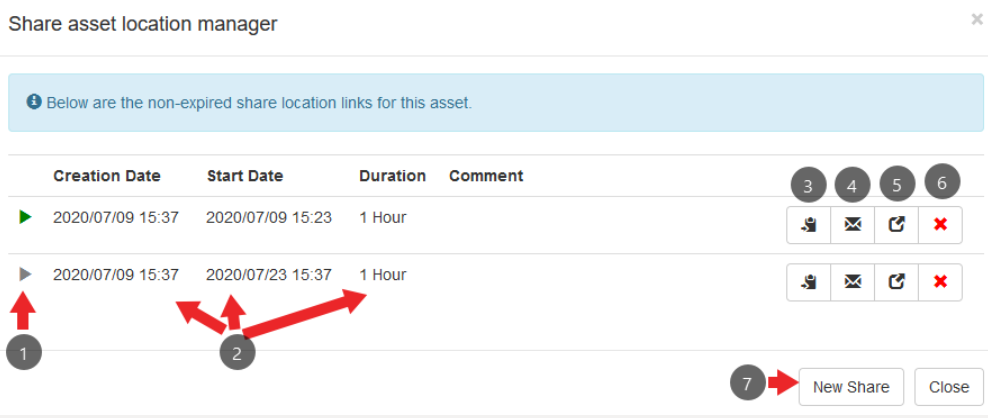
- Current status of share link. Green icon means the link is live. Grey means it is yet to become active.
- Creation date, start date and duration of share
- Copy share link to the clipboard
- Email share link via TG
- Open share link in a new tab
- Delete the share link. It will stop working for anyone using it.
- New share - if you already have a link created, this is how to create a secondary one.
Below is an example of what is shown on the share link - the location + selected information.
Multi-Asset Location Sharing
You are now able to share multiple asset's locations, allowing customers to track fleets, rather than individual assets. For example a hire company may rent a few vehicles to their customer for a few days - so they can give them visibility of where they are via this feature.
Required Permissions
The following permissions are required to uses this feature. If you can't see the feature, you may be missing one. If you can't enable it for your organisation on user account - contact DM support and we can enable it:
- The Organisation must have Multi Asset Location Sharing under functionality
- The User must have the Multi Asset Location Share permission
- The user doing the sharing requires access to all assets within the organisation (asset access is set on the user account)
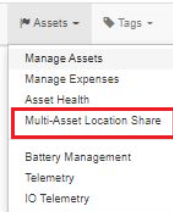
- Navigate to Assets -> Multi-Asset Location Sharing
- Create New Share
You are able to select multiple assets which will be shared in the single link.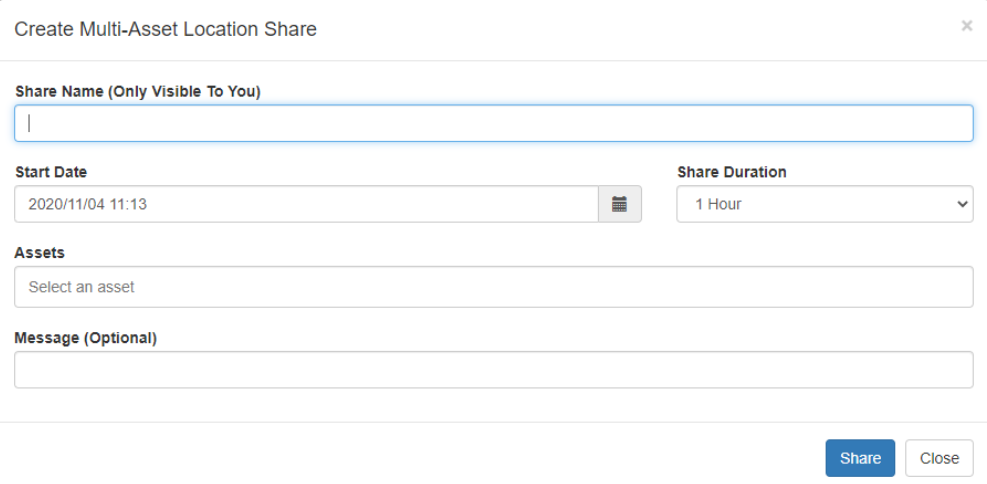
- Click Share
- Allows you to copy the link
- Allows you to preview the Multi-Asset Location Share link
Below is an example of what is shown on the share link - the location of the assets and asset list.
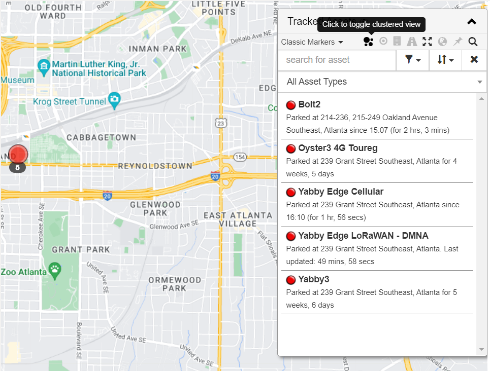
Clustering on Live View
To avoid cluttering on the map with organizations with large amount of devices, and to ensure no degradation in the performance of the live view, clustered view is an option that can be toggled. This feature can be set via the view setting in the legend on the live view as seen below. The clustering is color coordinated based on the percentage of devices in each cluster compared to the total amount (<25% green, 25%-50% orange, >50% red).
Live View Time Out - Disabling Asset Update Pausing
The Live view on TG normally automatically updates the position and status of the assets. To reduce server load, browsers that have been idle for 4.5 minutes will suspend these automatic updates. An "Asset Updates Paused" message will appear on the screen and the user must click OK to resume.
This is not acceptable for control rooms, so this functionality can be disabled for a user. It is defaulted to enabled.
To disable this function for a user, the "Live Tracking No Timeout" permission must be ticked. To give this to another user, your user must have the permission - you cannot award a permission you do no have. If you cannot see this permission, contact support.
Follow these steps:
- Switch to the user's home organisation.
- Go to Admin->Users
- Click Edit for the user.
- Go to Permissions tab
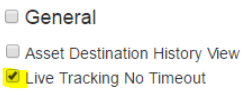
- Scroll to the General category
- Tick "Live Tracking No Timeout"
- Click Save.
This is the permission to check: