Device Network Settings for Australia - LTE-M/NB-IoT
Table of Contents
In most cases, with most SIM cards, our latest range of devices which use the Nordic nrf9160 cellular modem will get online automatically.
However, to get the best performance and battery life it is best to:
- Update your device to the latest device firmware and modem firmware
- Set the APN on the device
- Set cellular bandmasks
Device Firmware
Updating to the latest firmware, particularly the modem firmware will bring bug fixes and other connectivity improvements. So it is best to keep your firmware up to date.
Sign up to our mailing list to be notified of important firmware updates as and when they become available.
Set the APN
Standard Telstra IoT sims (including the SIMs sold by M2M One) require no additional config on our devices to be able connect to the network. However, we believe setting the APN helps with faster registrations which in turn improves battery life (especially when using roaming sims).
More on setting APNs here.
Network Settings
Our 4G devices are able to connect on either NB-IoT or LTE-M networks, across well over 30 different frequencies.
This allows for the device to connect on networks all over the world.
For most deployments, where the device is not travelling between multiple countries - the network will be on a specific handful of bands.
For example, within Australia, Telstra's LTE-M and NB-IoT networks use LTE frequency bands 3, 7 and 28.
When the device attempts to connect, it is best to limit the device to only search for the network on the bands in use in the country. (i.e. no need to scan band 5 in AU - there is no network to find)
Scanning each band takes time, so limit the search space for the lowest possible energy consumption.
This is particularly important to do when using roaming SIM cards for the best battery performance. However only do this if your device is staying within Australia.
More on 4G network settings here.
Registration Strategy
Our Nordic based devices offer different registration modes which can help save power. We have seen the “Ultra Low Power” mode work well with local/home SIMs including Telstra/M2M One SIMs.
For roaming SIMs, we suggest using “Balanced” mode. You can try “Low Power” and “Ultra Low Power”. If you see an increase in failed uploads even in good coverage, revert back.
More on Registration Strategy modes here.
Settings for Various SIM cards - Nordic and Ublox Modems
Admin Parameters - Use Caution
When making admin parameter changes, the connection settings of the device are being edited - which naturally can cause connectivity problems if misconfigured.
To limit the risk of issue
- Always test on a small selection of units, verify operation, then templatise your parameters for bulk deployment
- Double check an APNs mentioned below with your SIM provider
Telstra LTE-M SIM Card
1. Admin Parameters > Fixed APN → telstra.m2m
Confirm with your provider this is the correct APN for your SIM cards
2. Admin Parameters > 4G Network → Australia: Telstra CAT-M1
Note - On older devices with u-blox modems.
Use 4G Network (v2.x) → Custom → m3+7+28
3. System Parameters > Upload Timeout → Ultra Low Power
If you see an increase in failed uploads and the device is in a poor coverage area, setting the Registration Strategy to ‘Low Power’ may help.
Telstra NB-IoT SIM Card
1. Admin Parameters > Fixed APN → telstra.m2m
2. Admin Parameters > 4G Network → Australia: Telstra NB-IoT
Note - On older devices with u-blox modems.
Use 4G Network (v2.x) → Custom → n28
3. System Parameters > Upload Timeout → Ultra Low Power
If you see an increase in failed uploads and the device is in a poor coverage area, setting the Registration Strategy to ‘Low Power’ may help.
1NCE Roaming SIM Card
1. Admin Parameters > Fixed APN → iot.1nce.net 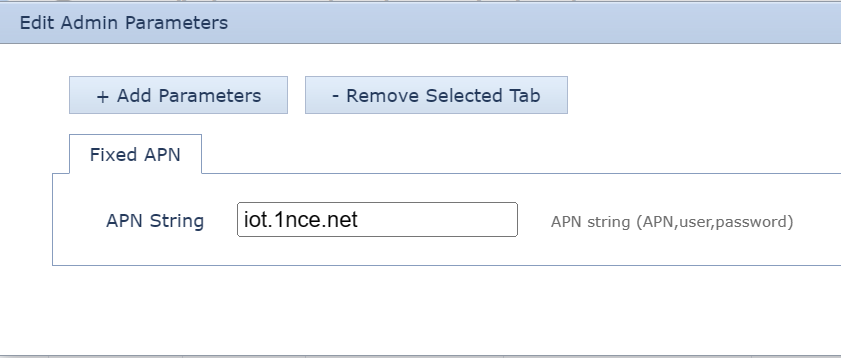
2. Admin Parameters > 4G Network→ Custom →m3+7+28

Note - On older devices with u-blox modems.
Use 4G Network (v2.x) → Custom →m3+7+28
3. System Parameters > Upload Timeout → Balanced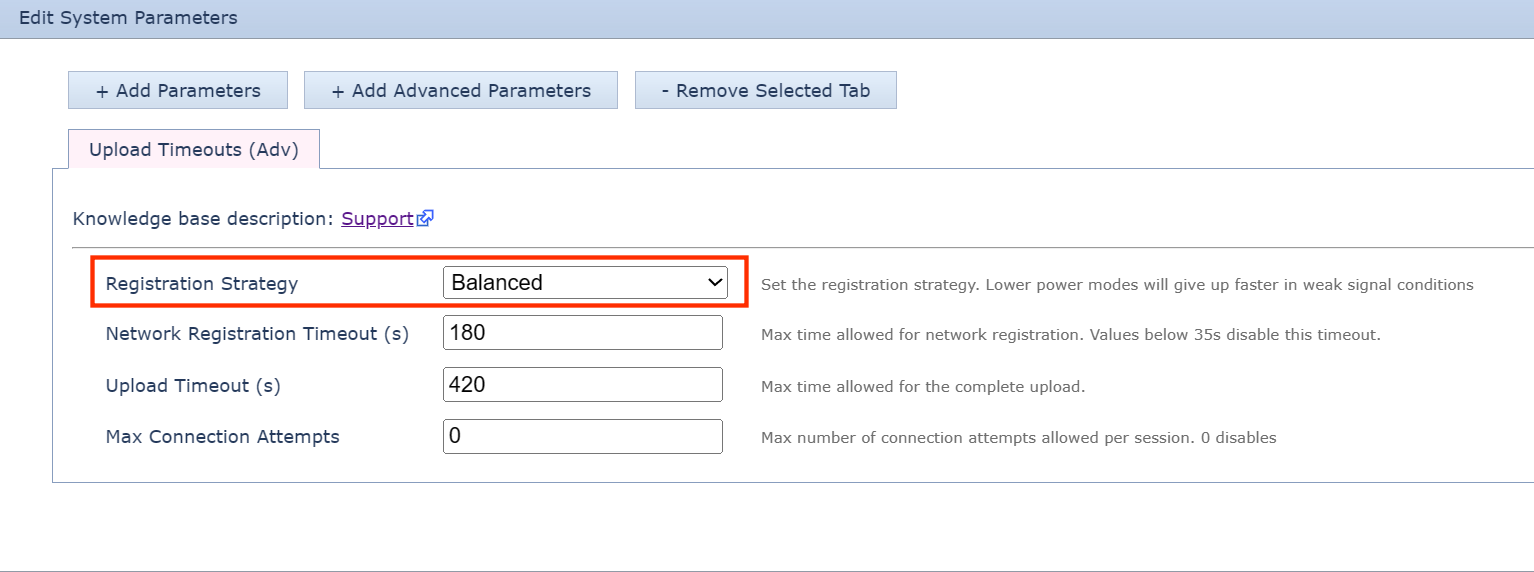
You can try Low Power and Ultra Low Power, if you see an increase in failed uploads even in good coverage, revert back.
Emnify Roaming SIM Card
1. Admin Parameters > Fixed APN → em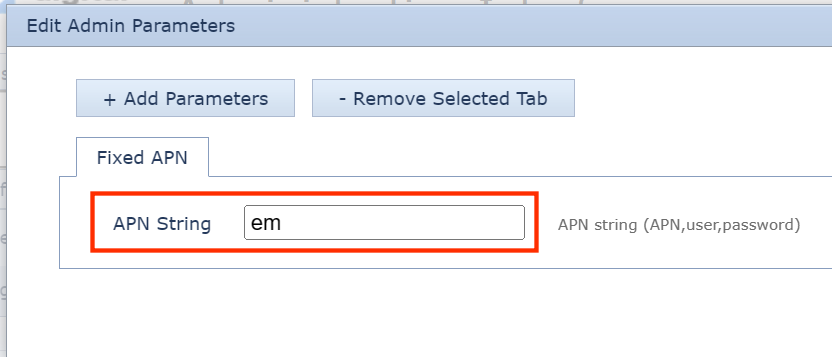
2. Admin Parameters > 4G Network→ Custom →m3+7+28

Note - On older devices with u-blox modems.
Use 4G Network (v2.x) → Custom →m3+7+28
3. System Parameters > Upload Timeout → Balanced
You can try Low Power and Ultra Low Power, if you see an increase in failed uploads even in good coverage, revert back.
Twilio Roaming SIM Card
1. Admin Parameters > Fixed APN → super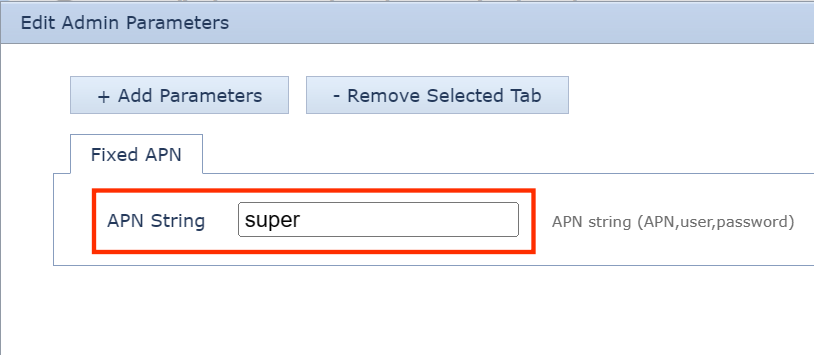
2. Admin Parameters > 4G Network→ Custom →m3+7+28

Note - On older devices with u-blox modems.
Use 4G Network (v2.x) → Custom →m3+7+28
3. System Parameters > Upload Timeout → Balanced
You can try Low Power and Ultra Low Power, if you see an increase in failed uploads even in good coverage, revert back.
Onomondo Roaming SIM Card
1. Admin Parameters > Fixed APN → onomondo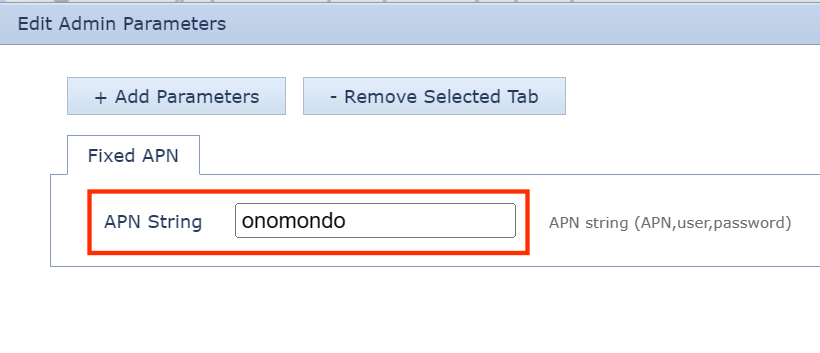
2. Admin Parameters > 4G Network→ Custom →m3+7+28

Note - On older devices with u-blox modems.
Use 4G Network (v2.x) → Custom →m3+7+28
3. System Parameters > Upload Timeout → Balanced
You can try Low Power and Ultra Low Power, if you see an increase in failed uploads even in good coverage, revert back.
Soracom Roaming SIM Card
1. Admin Parameters > Fixed APN → soracom.io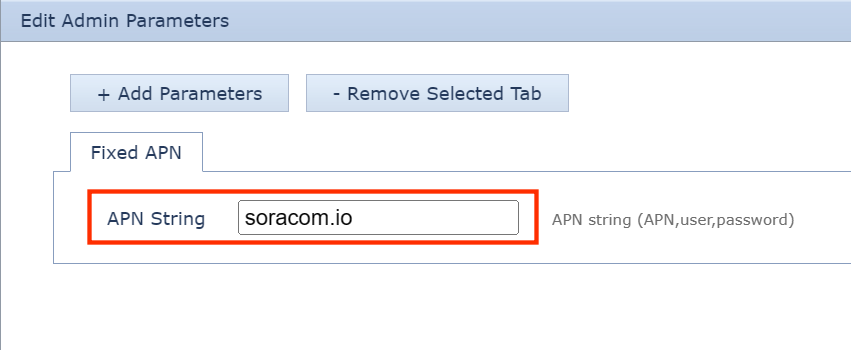
2. Admin Parameters > 4G Network→ Custom →m3+7+28

Note - On older devices with u-blox modems.
Use 4G Network (v2.x) → Custom →m3+7+28
3. System Parameters > Upload Timeout → Balanced
You can try Low Power and Ultra Low Power, if you see an increase in failed uploads even in good coverage, revert back.
Optus NB-IoT SIM Card
1. Admin Parameters > Fixed APN → optusiot
Note: if you are using SIMs with iotflex service enabled use iotflex as the APN.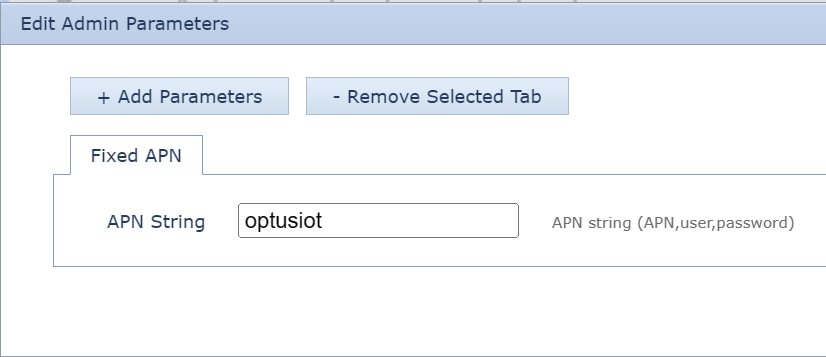
2. Admin Parameters > 4G Network→ Custom →n28
Note - On older devices with u-blox modems.
Use 4G Network (v2.x) → Custom →n28
3. System Parameters > Upload Timeout → Ultra Low Power
If you see an increase in failed uploads and the device is in a poor coverage area, setting the Registration Strategy to ‘Low Power’ may help.
Settings for the Barra Core - Quectel Modem
The Barra Core features a different modem than the rest of the range, resulting in a slightly different UI for the 4G network Admin parameters.
Also, Modem FW updates are bundled into the Device FW updates.
Telstra NB-IoT SIM Card
1. Admin Parameters > Fixed APN → telstra.iot

2. Admin Parameters >
- 4G Network → Australia: Telstra
- Deep Scan Period - 1440
- Lock to Network - 50501
3. System Parameters >
-Upload Timeout - 300
Note: For FW updates, revert the upload timeout to 420.

