Bolt2 - Getting Started

Written by Matthew Clark-Massera
Updated at September 18th, 2024
Table of Contents
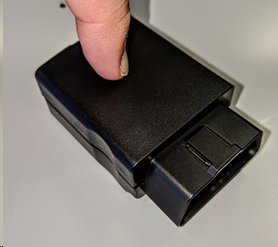
The Bolt is our compact, plug and play OBDII tracking device.
The Bolt was previously available in 2 variants:
- 2G
- 4G LTE-M/NB-IoT
It has now been replaced with the Bolt2, available in a cellular LTE-M/NB-IoT version only.
In terms of usage and functionality, the major difference is that the Bolt2 comes with an internal back-up battery, which allows an alert to be sent when the device is unplugged, and tracking to continue for some time. The original Bolt did not.
This guide applies to both units.
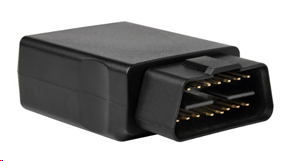
The device require next to no installation, drawing power from a vehicle’s OBDII port. (They will not read OBDII diagnostic data). The Bolt2 is designed to provide extremely cost-effective tracking with all the quality and support of a Digital Matter product.
digitalmatter.com
See the product page on www.digitalmatter.com for more specifications.
Datasheet & High Resolution Images
Bolt Downloads
View the tech-specs and high resolution device images for the Bolt
This article will help you get up and running to test Bolt 2
In the Box
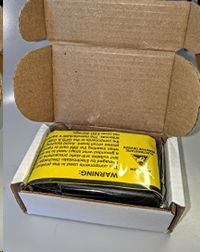
You'll get a compact box containing the Bolt with unsealed housing inside a sleeve and a backing sticker with an LED hole.
Setting it up
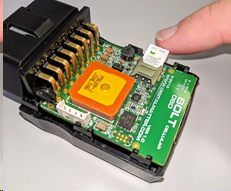
Sim Card
Both devices use a Nano SIM (4FF)
- Remove the board from the housing, the board will be sitting inside the bottom housing and can slide out smoothly without detaching any screws or clips.
- Orientate the Nano SIM with the contacts facing down and the keyed corner towards the board.
- Slide the SIM into the SIM holder
Connectivity Settings
The device should get online automatically in most cases. Though it is recommended once online that you Set the Network Profile (APN and bandmasks) for best performance
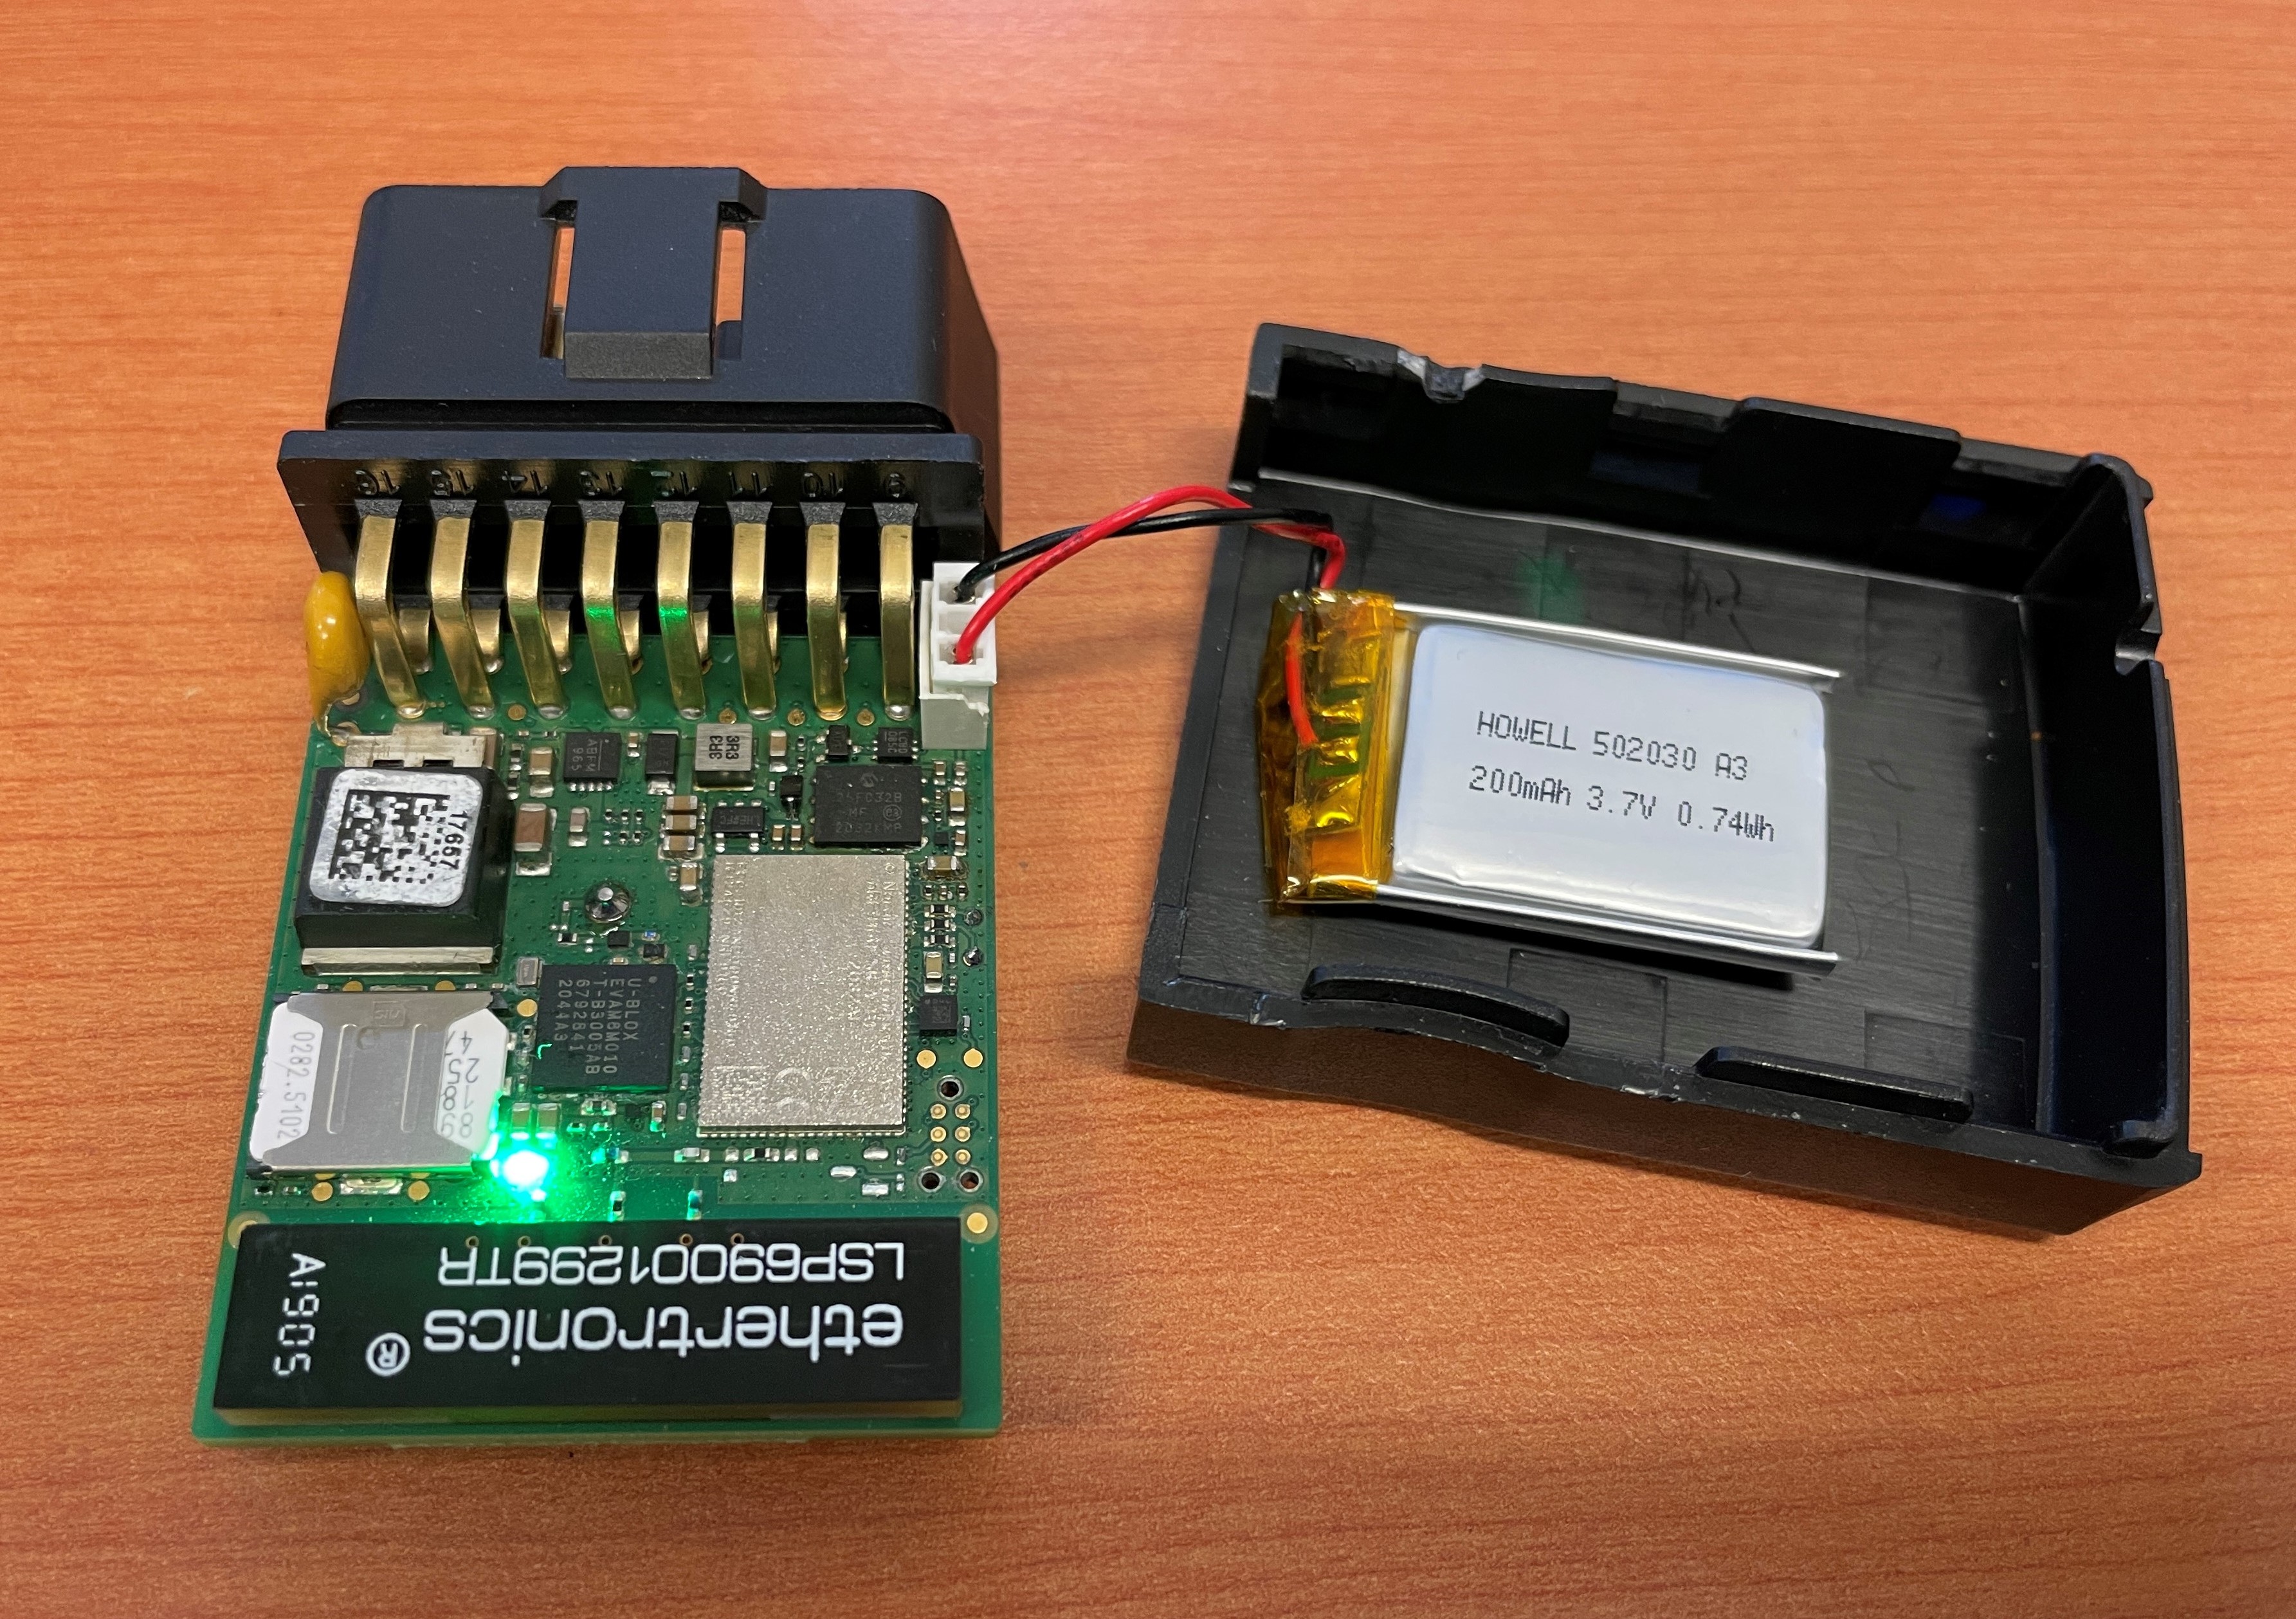
Internal Battery
The Bolt 2 comes with a backup battery. So once the sim card is inserted, make sure to plug the internal battery to the connector in the PCB, and the LED will start flashing. This step is not required for the v1 Bolt.
Close the Housing
The housing clips together and does not need screws, once it is sealed, it will snap firmly shut – Re-opening of the housing will often result in the breakage of the clips.
Plug into Vehicle
The Blue LED will flash at 1Hz if it is getting powered. You can find where your vehicle’s OBDII point is by researching the make and model online
Online
Once the battery is connected, the internal LED will come on and flash blue and the device will do the following:
- Connect to the server: If the SIM card works, the device will connect to the OEM Server. It will attempt to download any firmware and parameter updates and fetch fresh GPS aiding data.
- Get a GPS Fix: the device will attempt to get a GPS fix. Speed this up by moving to an area with good GPS signal.
- Reconnect to the server: The device will attempt to connect again to upload the result of the GPS Fix.
- Stop flashing: once complete, the LED will stop flashing. If the device does not complete these steps in 10 minutes, it will go to sleep and try again on the next heartbeat or the next trip start.
OEMServer Installer
Go to www.oemserver.com/installer for ease of testing
If the LED flashes but the Bolt does not connect, check the SIM is in the holder correctly and check that the SIM is working.
Troubleshooting Steps
Default Settings
The Bolt will operate with default settings out of the box. These can be changed using the OEM Admin interface. The defaults include:
- Hourly Heartbeats: When not in trip, the device will log a heartbeat record, connect to the server, and refresh its GPS data every 60 minutes.
Trip Tracking
- By default, the device detects trips based on GPS movement in the following way
- If some accelerometer activity is detected, the device begins checking GPS for movement
- If the GPS finds the device has moved >150m (default threshold, can be adjusted) from the starting position, a trip is started
- A trip ends after 5 min of no GPS movement, or if GPS signal is lost for this long.
- Alternatively, run detect can be configured, see Wired Devices - Overview of Operation
- Once in trip, the reporting rate increases default logging is as follows
- The device is set to log a record every 60 seconds or 500m of distance travelled, whichever comes first.
- Heading Changes: The Device will also log a record when the heading change of is detected and will track when the vehicle corners.
Bolt Assembly & Installation Guide
For a greater detail installation and assembly guide, see our article here
Default I/O Mappings
Digital inputs, analogue inputs, and various 'statuses' (e.g. GPS interference detected) can be mapped to device Digital inputs. The device has no physical I/Os but these 'virtual' inputs
The Bolt2 has the following digital inputs mapped by default, it is important to keep these in mind when mapping inputs to avoid clashes.
Digital Inputs
| DI Number | Meaning | Comment |
| 0 | Trip Status | The device does not monitor the vehicle's ignition status via the OBD port. This input simply indicates if a trip is in progress. Trips are determined either by GPS movement by default. Run detect can be configured See Wired Devices - Overview of Operation |
| 5 | GPS Interference | GPS Interference indicator is mapped here by default, but it can be remapped elsewhere |
| 6 | GPS Jamming | GPS Jamming indicator (signal lost) is mapped here by default, but can be remapped |
Applications/Other Resources
The Bolt2 can be used for various applications, such as odometer/run hour monitoring, harsh event reporting, etc to name a few. Please see the links below on how these can be set up to suit your needs.