G120 & G150 Iridium Quick Start Guide

Written by Matthew Clark-Massera
Updated at February 13th, 2024
Table of Contents
Below are the minimum steps needed to set up a G120/G150 Iridium device. For iridium hardware requirements, please refer to this article, Iridium hardware requirements for the G120 and the G150.
For a complete, detailed guide of the G120/G150 Iridium and how it works, see G120 & G150 Iridium Set Up and Operation.
Required Components:
- G120/G150 (with SIM Card)
- Iridium Edge Module (with Sat data plan active)
- G120 Iridium Harness or self-wired G150 Iridium Harness
1. Iridium Activation
The Iridium Edge Module must be activated with an Iridium data provider, similar to activating a SIM card.
If your Iridium Data is provided by Digital Matter - send the Iridium IMEI of the Edge module to your local support team, along with the plan you wish to have it activated on - See HERE for notes on how to choose the right plan.
If you are sourcing your own Iridium Data, in general you will need to provide the following information to your provider
- Iridium IMEI of Edge Module
- Data plan
- IP and port to direct data. This will be dependant on your Telematics Guru server. The IP:port for each server is listed below. Iridium devices use port 6000 for all TG servers.
| Region | Generic URL | IP Address* |
|---|---|---|
| APAC01 | apac01.telematics.guru | 40.82.219.2:6000 |
| APAC02 | apac02.telematics.guru | 40.82.219.4:6000 |
| APAC03 | apac03.telematics.guru | 40.82.219.106:6000 |
| APAC04 | apac04.telematics.guru | 40.82.220.205:6000 |
| EMEA01 | emea01.telematics.guru | 52.179.86.26:6000 |
| EMEA02 | emea02.telematics.guru | 40.119.147.99:6000 |
| EMEA03 | emea03.telematics.guru | 40.119.152.46:6000 |
| EMEA04 | emea04.telematics.guru | 40.119.153.184:6000 |
| AMER01 | amer01.telematics.guru | 20.185.104.80:6000 |
| AMER02 | amer02.telematics.guru | 52.191.219.242:6000 |
If you are using your own server, send the data to that IP:Port
2. Parameter Set Up.
To simply have a device report over Iridium, the only parameter that needs to be enabled is the Global Iridium Parameter.
Set Enable Iridium = Yes under the Iridium Parameter Tab
(Click image to view in a larger size)
The example below is for a G120:
Alternatively a parameter template is available for all users to apply the same setting (note this will overwrite any other applied settings!)
The example below is for a G120:
3. TG Set Up
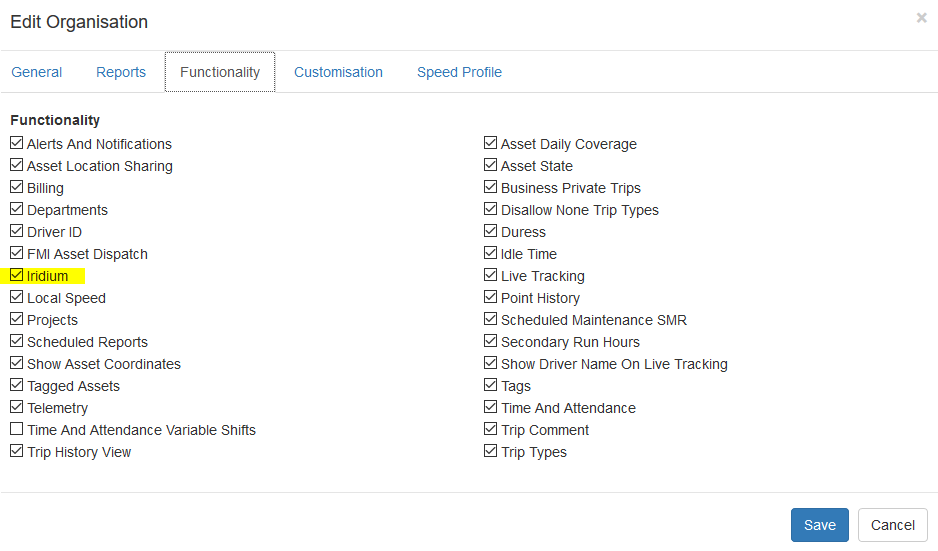
- Enable Iridium Functionality by editing the organisation. Admin > Organisations
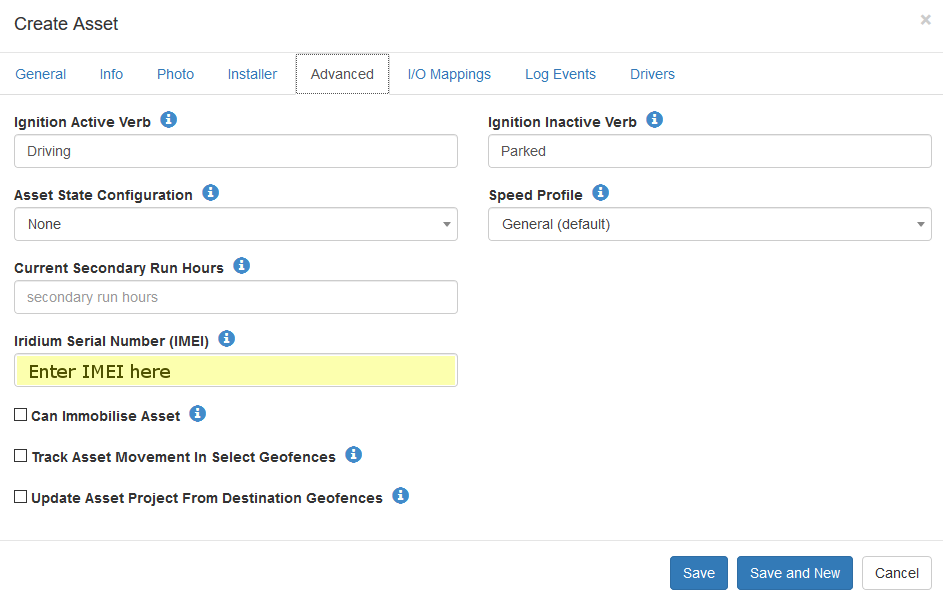
- Enter the Iridium IMEI in the Advance Tab when creating the asset
4. TEST!!!
As discussed in the detailed Iridium guide - the G120/G150 will only send data via Iridium while out of coverage. This can make testing the Iridium set up and connection difficult as devices are rarely installed in out of coverage locations.
This can be replicated by doing the following steps.
- Remove SIM card, or Deactivate the SIM in your SIM management portal - this will leave the device unable to join the cellular network, and attempt to fail over to Iridium
- Start the ignition in the vehicle - the device will attempt to upload via Iridium due to this, and on default settings every 10 minutes thereafter. Allow 5-10 minutes to receive a message in Telematics Guru.
It is worthwhile to also configure any Panic/Duress alerts prior to installation so that these can be tested over the Iridium connection as well. Simply push the duress button with the SIM disabled to test.