Hawk Installation - Testing Sensor Readings

Written by Matthew Clark-Massera
Updated at April 28th, 2026
Table of Contents
Note: This installation testing procedure applies to the Hawk Pro, Hawk Pro NTN, and Hawk Lite — sensor cards and reading procedures are identical across the variants. See the Hawk Pro vs Hawk Pro NTN article for hardware differences.
Once the Hawk is installed in the field - we generally want to record and upload all sensor measurements - to check that our sensors are installed correctly and we have the right parameters applied. There are a few ways to achieve an 'on-demand' reading.
1. Device Startup Behaviour
- On startup, the Hawk will run all tasks.
- If the task log multiplier is non-zero, it will log the results
- If the log multiplier is non-zero and the GPS/upload multipliers are non-zero, then it will get a fix/upload
This means to test sensors in the field, we can simply power on the device (plug in back up battery or connect external power). This assumes the correct parameters are already applied to the device, ready to be actioned when it is powered on in the field.
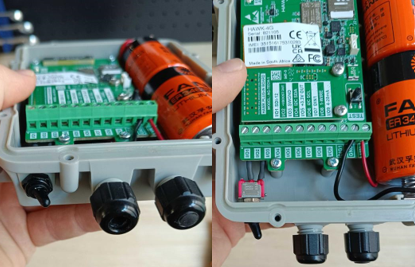
2. Test Button on Device (Hawk Pro and Hawk Pro NTN Only)
The Hawk Pro is fitted with a push-button on the PCB.
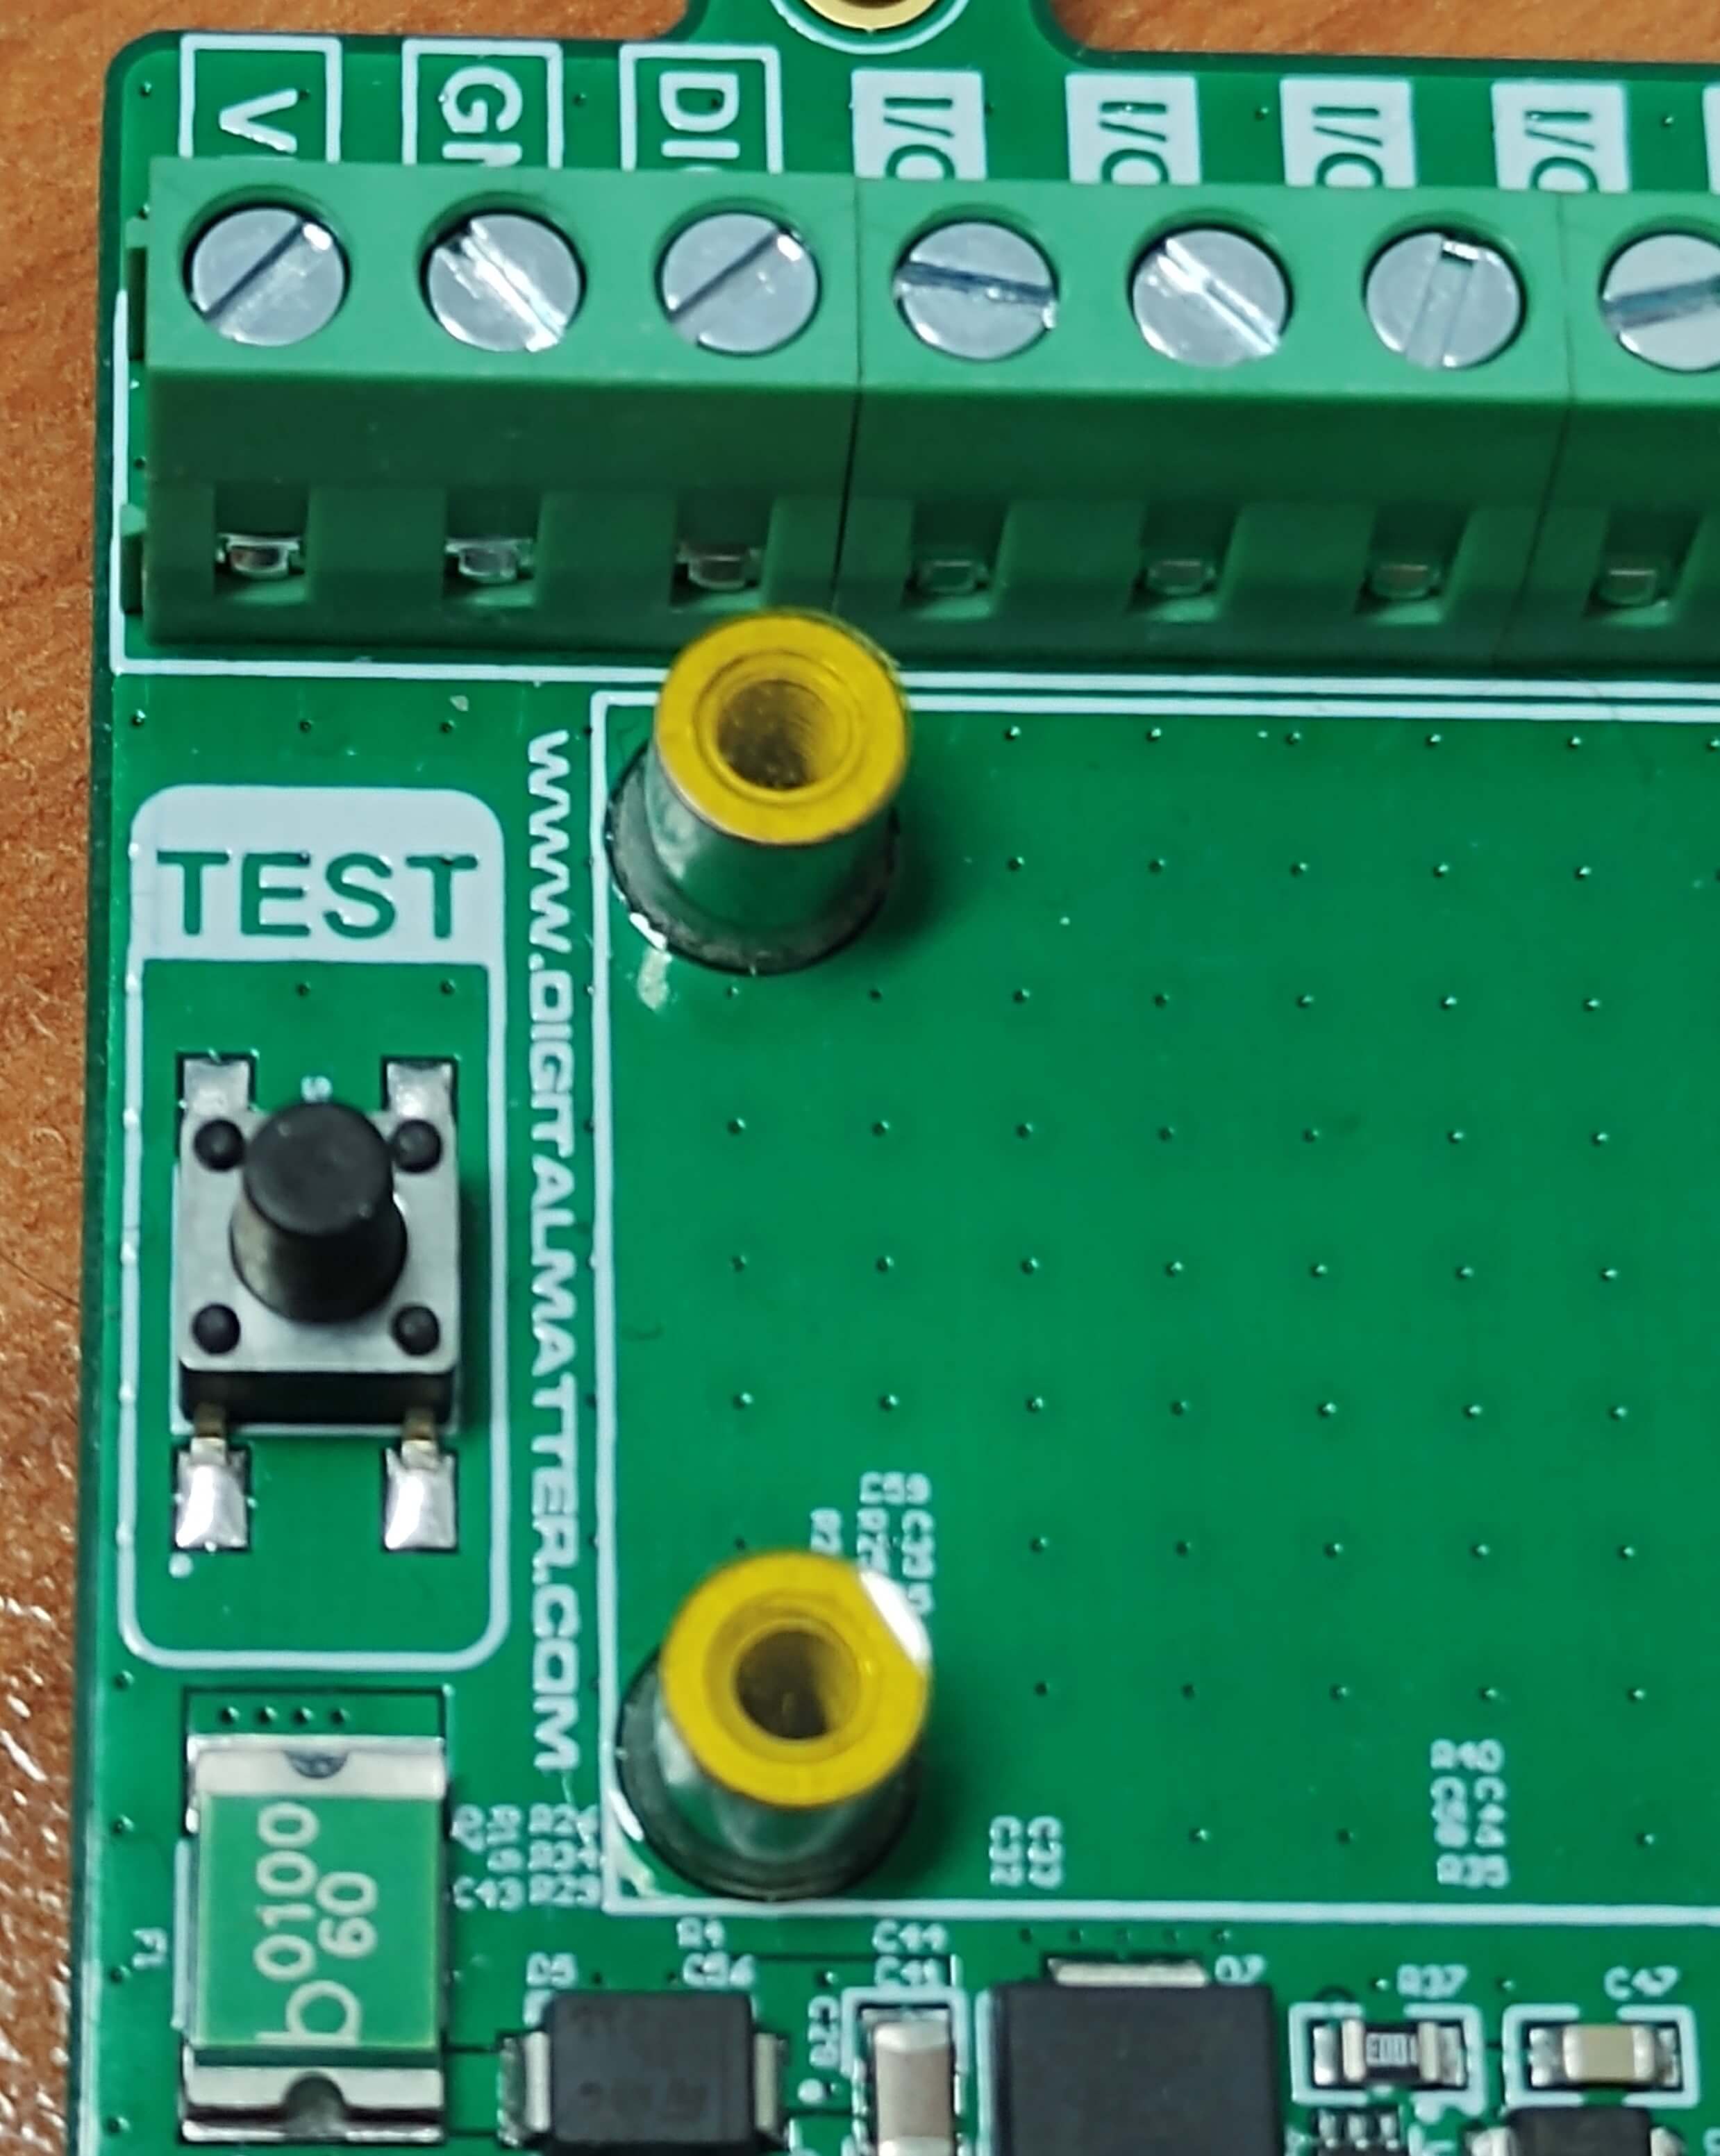
The behaviour of the button is as follows
- Press and hold for 200ms to run all tasks, and forces a log if the log multiplier is non 0 (sample all sensors and log their values to memory)
- LED flashes once, (500ms) to indicate the press and hold was recognised.
- Press and hold for 3 seconds to upload
- LED flashes twice (250ms on, 250ms off, 250ms on) to indicated the press was recognised
- NB: The Hawk's cellular modem will throttle network registrations to only once every 2 minutes, so you may see delays if pressing the button many times in quick succession
Notes:
- The run/upload behaviour is separated to allow an upload to be 'forced' - if the Task is configured to only upload infrequently (i.e. the task might be a sample every 10 min, but hourly upload)
- Some tasks may take some time to run, depending on the specific sensors. i.e. an I²C sensor measurement may be completed within a couple of seconds, but some SDI-12 probes may have lengthy warm-up times and take a long time to collect measurements. In this case, the user should leave enough time between the 200ms and 3sec button holds to allow all readings to be collected before upload.
3. Configure Task on Digital Input Change
In some scenarios the unit is provided to the installer sealed - and they will not have access to the Test Button. The Hawk can be configured to run a task on Digital Input change.
- If we are using the input for our application - we can trigger it (i.e. close the switch, press the button etc)
- If we are not, we can form/break a connection between Digital Input and ground once the unit is ready to go.
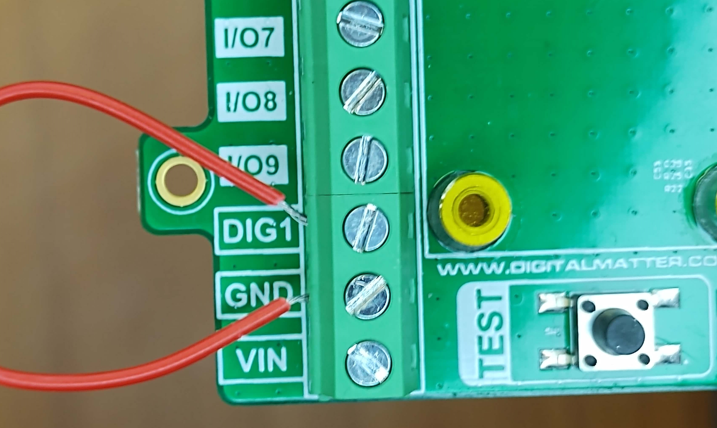
Example
- Connect a wire between Digital Input 1 and Ground, this can be fed out the gland in the housing to expose it to the installer.
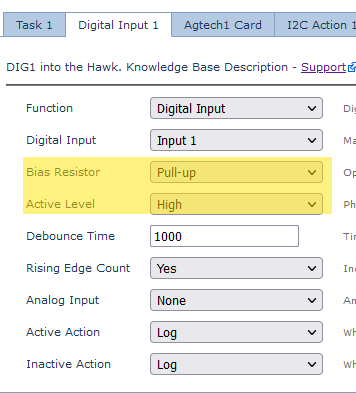
- Configure the Hawk to recognise when this connection is broken (i.e. wire is cut and ends terminated)
- Configure the Digital Input Monitor to run our desired tasks on this input change
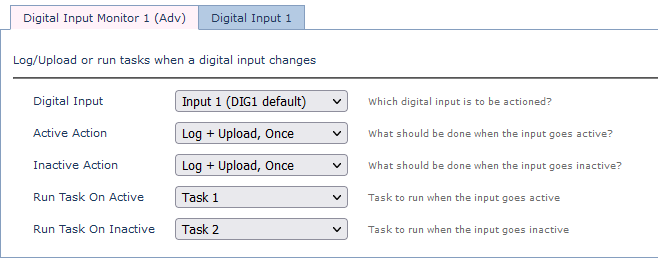
With the above configuration - cutting the wire will cause the input to go active, and run Task 1. Then touching the ends again together will run Task 2. Once provisioning is completed we can terminate the ends.
This could be surfaced in a user-friendly way via a switch or button. The switch can be wired in such a way that when it changes it is switched, it changes the state of a DI and forces an upload/runs a task as above.
This will allow an end user to deploy the device, and “instantly” get data from it without having to open the housing to press the test button.
Certifications
Please note that removing the SMA plug and inserting a 3rd party switch may affect the Hawk Housings IP rating.