Setting up a Yabby Edge LoRaWAN Device via LoRIot

Written by Matthew Clark-Massera
Updated at February 3rd, 2023
Table of Contents
1. Setup your Yabby Edge LoRaWAN devices using the LoRaWAN Provisioning Tool
The LoRaWAN provisioning tool can be downloaded here.
Please see Yabby Edge LoRaWAN - configuration and Usage.
Note: It is important to configure the Region and Scanning parameters.
2. Enable Uplink/Downlink data
There are two principle objectives:
- Allow Loriot to send data to OEM / Location Engine (Uplinks)
- Allow OEM / Location Engine to send data to Loriot (Downlinks)
Uplinks
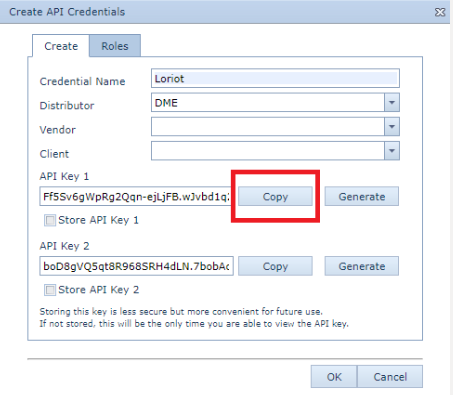
- Create a set of API Credentials and copy one of the keys:
3. Sign up for a LoRIoT account
Browse to https://af1.loriot.io/register registration page. Follow the prompts and complete the email verification step.
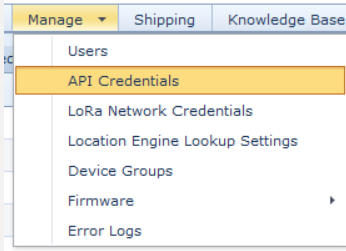
- In the Loriot UI for your region, navigate to your application’s page
Under Application Outputs select “Manage Outputs”
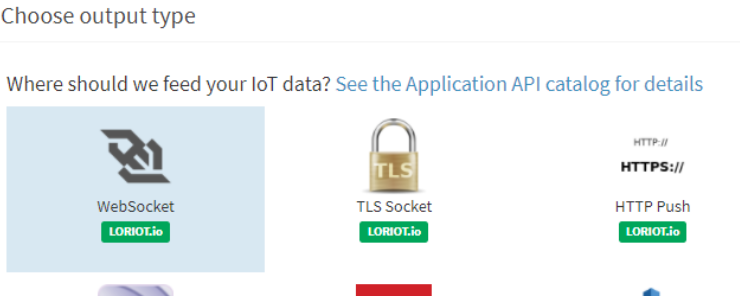
Click “Add New Output” then select “HTTP Push”
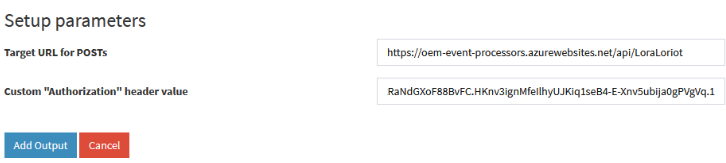
Configure Target URL for POSTs as: https://oem-event-processors.azurewebsites.net/api/LoraLoriot
Configure Custom “Authorization” header value to the value of the API key that you copied in step 1. Note that you may need to add "Bearer" before the Custom Authorization header value
Downlinks
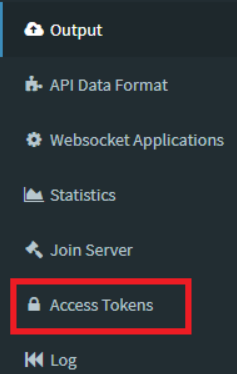
- Get your Application ID from your Loriot web UI
- Generate and copy an access token in the Loriot Web UI for that Application:
 |
 |
4. Setup Network Credentials
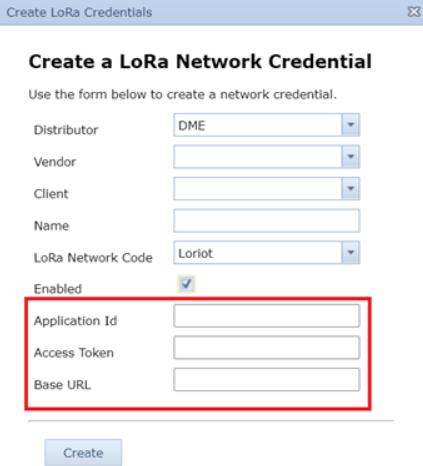
Create a set of LoRa Network Credentials in OEM:

Enter the Application ID and Access Token that you just copied from Loriot
Set the Base URL to: https://af1.loriot.io/1/rest where “af1” is replaced with the region code on which your Loriot App is set up.
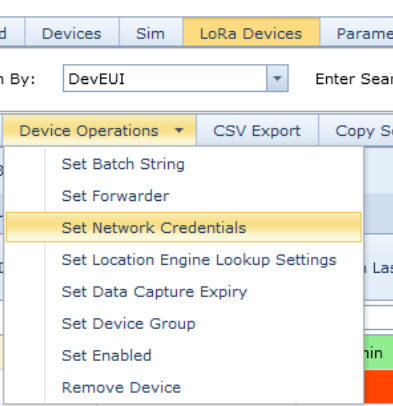
The next step is to map these network credentials to any LoRa devices that you want to use:
Check all the applicable devices, then select “Set Network Credentials” from the Device Operations tab. The Application ID, Access Token and Base URL all come from the Loriot server.
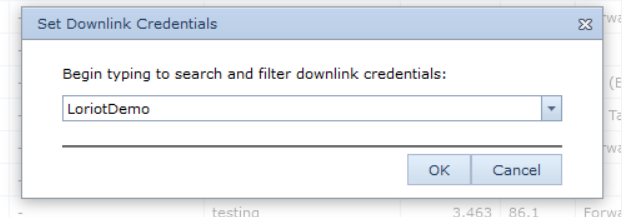
Then select the credentials you created from the drop-down list:
5.Create a Forwarder on OEM
This step is relevant if you need to forward data to your own platform.
A Forwarder is an HTTP connector which allows the Location Engine to forward the "solved" device data to an end platform.
Browse to Forwarders on OEM and click 'New'.
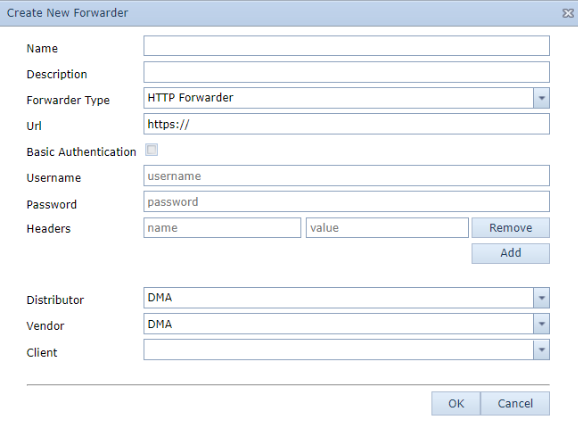
Once you have created your forwarder, ensure to click "Assign Partition" to finalise the process.
6. Set the Location Engine Lookup settings and Forwarder
Browse to LoRa Devices on OEM and select your devices.
- Click on 'Device Operation' and 'Set Network Credentials'. Select the entry you created in Step 4
- Click on 'Device Operation' and 'Set Location Engine Lookup Settings'. Select Default Profile. This profile will cover 99% of use cases. Test on this profile initially, if you have have specific requirements, speak to your support team to have the profile adjusted if this is required.
- Click on 'Device Operation' and 'Set Forwarder'. Select the TG forwarder for your region or the entry you created in Step 4.